
The artwork is ready, and the ink looks good on the flat PET sample. Then you fold the first box and see a pale line through the logo at the corner. Before you ask for a different sheet or more surface treatment, find out what changed at that fold. The ink may have lifted or cracked, or the PET itself may have whitened along the crease. Each result points to a different check.
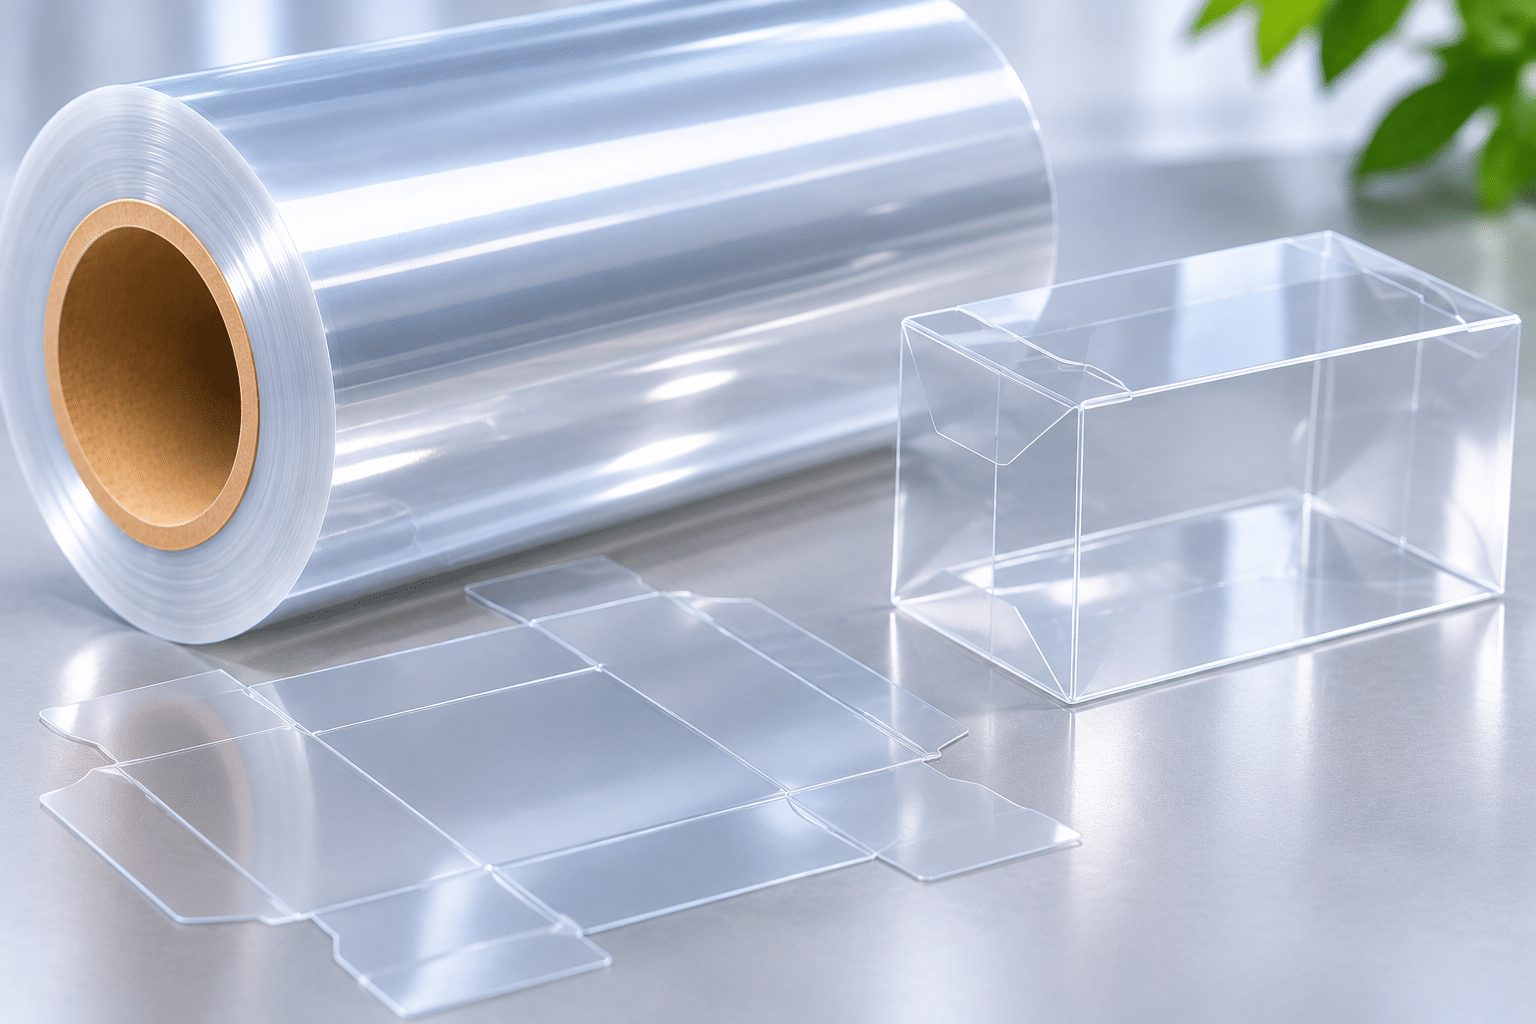
When ordering PET sheet for printing folding boxes, specify the print surface and the crease requirements together. Approve the sheet only after the same trial material has passed both ink adhesion and fold appearance checks with the intended ink and converting sequence.
Start with the artwork and mark the folds
Put the artwork and die line on the same drawing. We start by marking which face receives ink, which face the shopper sees and where the artwork crosses a fold. On a clear box with reverse printing, the ink goes on the inside face even though the design is viewed from the outside. Carry that distinction into the roll specification so the press receives the intended print face.
Flag the folds that matter most to the finished appearance. A dark print crossing a front corner and a crease through a clear window call for different visual checks. Mark any glue tabs and areas that must stay unprinted as well. If the artwork can move away from a prominent fold, a trial with that layout can tell you whether a sheet change is worth pursuing. The bare fold still needs to meet the appearance requirement.
Specify the treated side and check it at the press
For corona-treated PET rollstock, put the required treated face in writing and relate it to the unwind direction. Ask for a roll marking or winding sketch that the receiving and press teams can interpret the same way. A description such as “treated outside” can be read as the outside of the roll or the outside of the finished box. A sketch showing the ink face and web path removes that ambiguity.
Agree with the printer and sheet supplier on the surface check, where to sample and when to measure. A reading taken before printing reflects the sheet as it reaches the press after transport and storage. If the printer uses a dyne check, agree on the method and a job-specific acceptance criterion based on the ink system. Use that reading to screen the print face, then check adhesion with the actual ink after the intended drying or curing step. These checks answer different questions about the same sheet.
Check ink adhesion and crease appearance on the same sheet
Use production-representative rollstock for the trial. Run the intended print, drying or curing, die-cutting, creasing and folding sequence. Keep a flat printed sample from the same trial as a baseline. Where the artwork gives you no bare fold to inspect, include an unprinted trial blank from the same sheet with a matching crease. Fold the blanks to the angles they will see in the assembled box.
| Where to check | What to look for | How to use the result |
|---|---|---|
| Flat printed panel after drying or curing | Ink lift under the agreed adhesion check | If the flat panel fails, investigate the print face, surface condition and ink process before drawing conclusions from the fold. |
| Printed crease after folding | Ink lift, fine cracks in the print or a visible break in the artwork | If the flat panel passes and the defect appears at the fold, compare with the matching bare crease before changing the sheet specification. |
| Matching unprinted crease after folding | Whitening or cracking in the PET | If the bare crease shows the same defect, check how the selected sheet structure and gauge behave with that crease geometry. |
If the bare crease stays clear and the printed crease shows a fine break, we would check how the ink layer behaves through the fold before asking for more corona treatment. Inspect the line before applying any adhesion check so you can record whether the defect was already visible. Ink can remain attached beside a crack in the printed layer. If the PET also whitens or cracks on the bare fold, use that result to guide the next trial and change one variable at a time.
For a box that sells partly on its appearance, judge the assembled sample under lighting similar to the retail display. Agree on an acceptable sample for prominent corners, clear windows and less visible tabs. We give more weight to a repeatable result on those features than to one clean flat proof. If appearance is especially sensitive, ask for repeat samples from production lots before settling the supply specification.
Confirm the treatment, gauge and roll format before ordering
PUSITE supplies corona-treated print-grade PET and R-PET sheet for printed folding boxes, with thickness options from 0.18 to 1.7 mm and widths from 250 to 1,400 mm. Confirm availability for the selected structure, gauge, colour and roll format. Start with the gauge that gives the assembled box the required panel stiffness, then qualify the visible folds at that gauge. If a stiffer panel calls for a thicker sheet, carry the new gauge through the crease trial before approving it.
Tie the purchase specification to the material that passed the trial. Include the sheet structure, treatment and treated face, nominal gauge and agreed tolerance, usable width, core size, roll diameter limit and unwind direction. Record the surface check, the ink adhesion method and the approved folded sample alongside those dimensions. When comparing offers, check that each quotation covers the same specification and that the trial material represents the roll you intend to buy.
FAQ About PET Sheet for Printed Folding Boxes
What if a slit roll arrives without a treated-side label?
Hold the roll for identification before printing. Ask the supplier to trace the slit roll and confirm the treated face against its winding orientation. Verify that face on a sacrificial piece using the agreed surface check. If the identification remains uncertain, resolve it before committing artwork to the roll.
Should we recheck the print surface after storing an opened roll?
Yes. Check the intended print face on a clean sample taken from the web you plan to run. If the result differs from the agreed criterion, review the roll’s handling and storage and run an ink adhesion check before releasing it to print.
Can a box pass if a hidden tab whitens but the front corner stays clear?
Yes, if the agreed visual standard allows whitening on the hidden tab and the tab still meets the assembly requirements. Record the appearance allowance separately from any cracking or closure failure. Keep the front corner and the hidden tab as separate inspection points.
Does a new ink or varnish require another approval trial?
Repeat the affected print and fold checks on the approved sheet. Use the revised ink or varnish, the intended drying or curing conditions and the same crease geometry. Inspect both the flat print and the folded area before carrying the existing acceptance decision over to the revised artwork.
Share your artwork and die line, intended print face, sheet dimensions and roll requirements with PUSITE. Include the ink system, converting sequence and expected order quantity so we can discuss a suitable sample for your print and fold checks.